
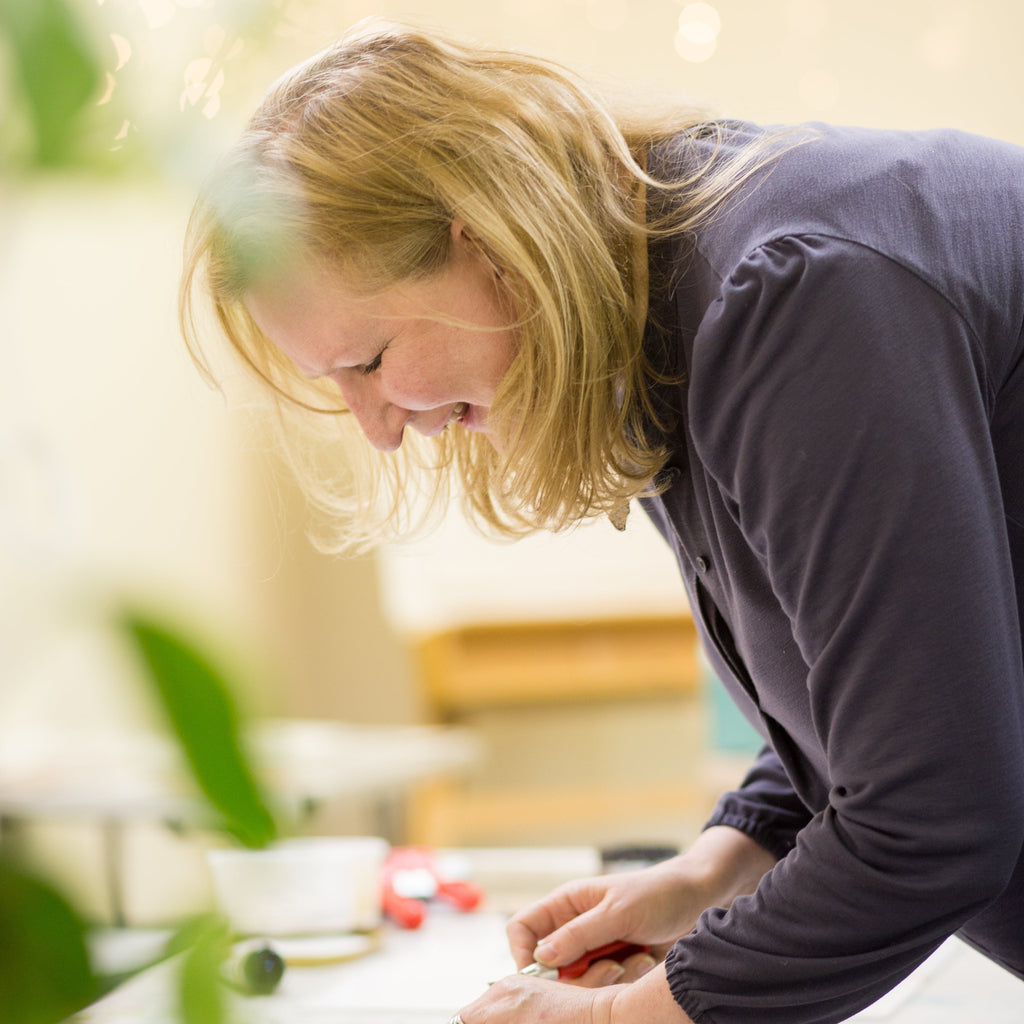


Introduction to Lino Printing
Date: Saturday 8th November
Time: 1:00 PM - 4:00 PM
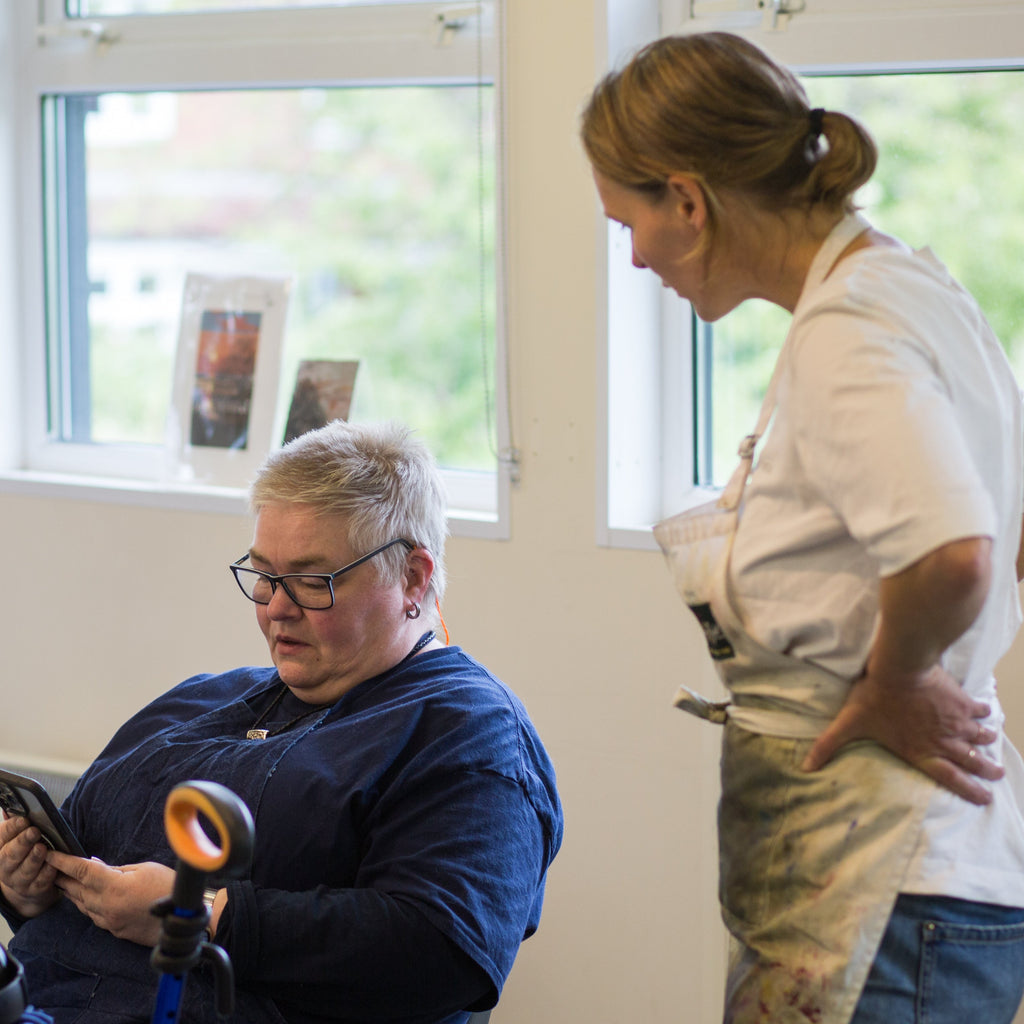
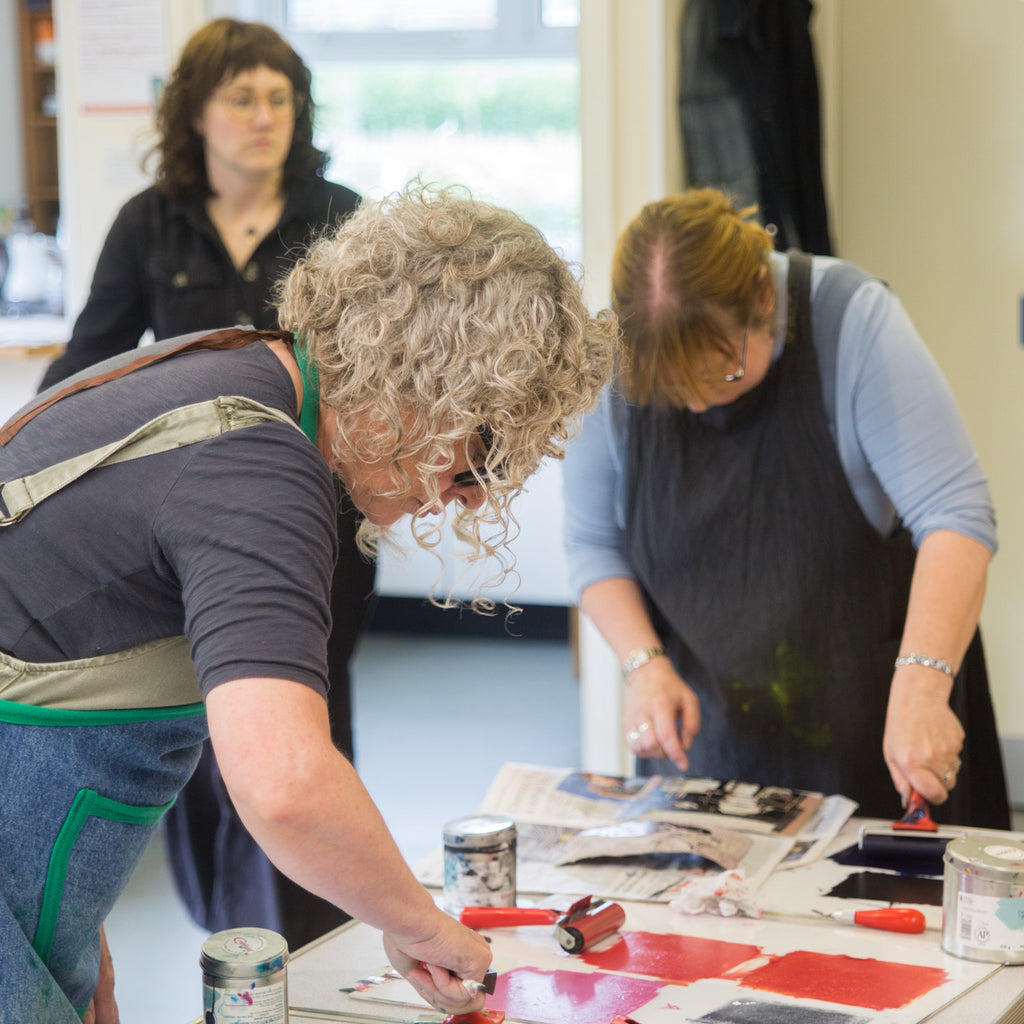
Join us for an Introduction to Lino Printing workshop Discover the art of lino printing in a fun and friendly environment, perfect for beginners and art enthusiasts alike.
This workshop will be run by artist and printmaker Clare Bowes, who will guide you through essential techniques, helping you create your own unique designs. Learn from Clare’s expertise and experience as you craft your handmade prints to take home. All materials will be provided.
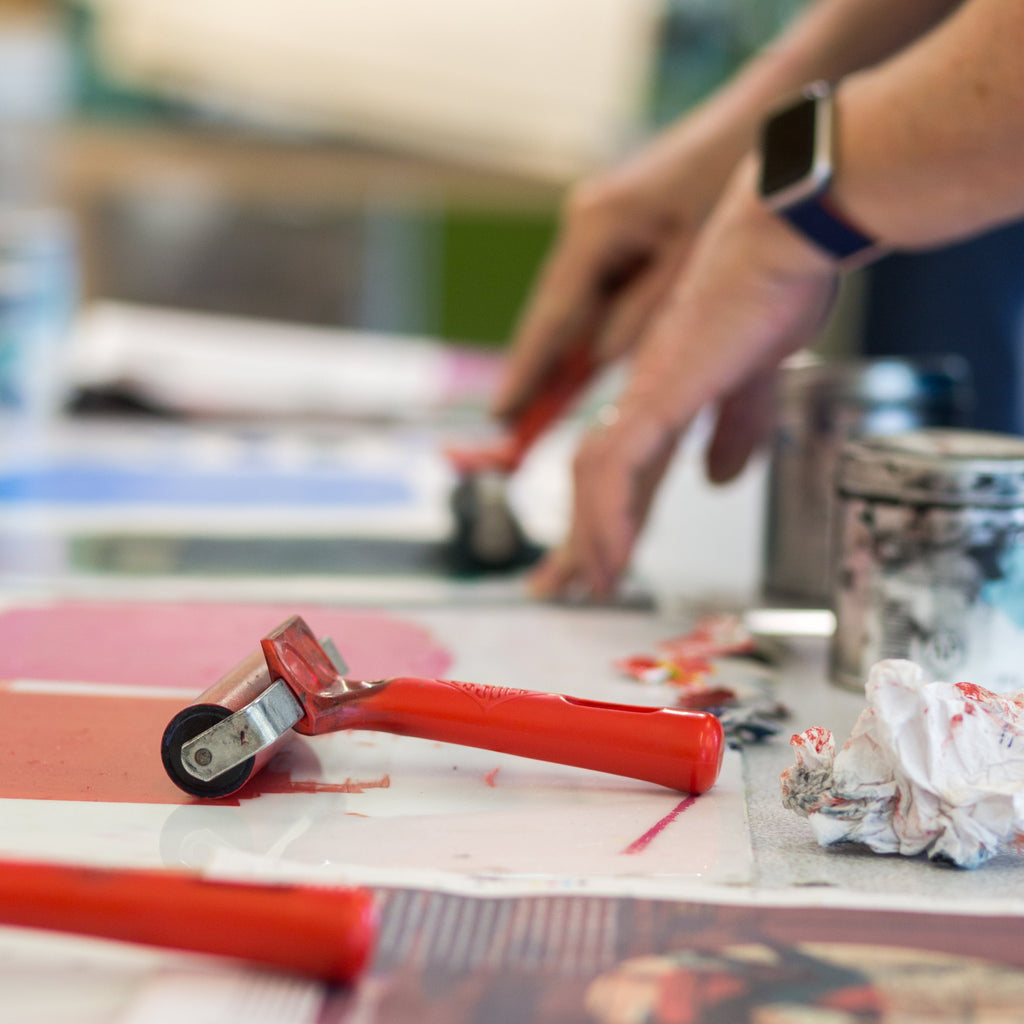
The tools, surfaces and other materials needed to make a lino print
- Lino - to make the plate/matrix (trom which the print is taken)
- Cutting tools - come in a variety of shapes for ditterent jobs
- Paper - specialist printing papers are best for lino printing
- Ink - best to use a good quality, water based brand, like Cranfield
CHOOSING A DESIGN
The sky is the limit with lino print, from a simple leaf shape to a large scale incredibly detailed landscape. It's worth remembering that often the most uncomplicated designs are the most effective
HOW TO TRANSFER A DESIGN
This is usually done by either sketching direct onto the lino, or transferring an existing image using tracing paper - some images might need to be simplified for them to work
* It's important to remember that the lino plate will print it's mirror image (if you want text or letters they should be carved backwards!)
CUTTING THE LINO PLATE
V vs U... it's a good idea to have a play around with the cutting tools as different shapes do different jobs. The large U shaped tool is good for making bold marks and getting rid of a lot of unwanted lino, whereas the small V shaped tool is better for cutting fine lines and details
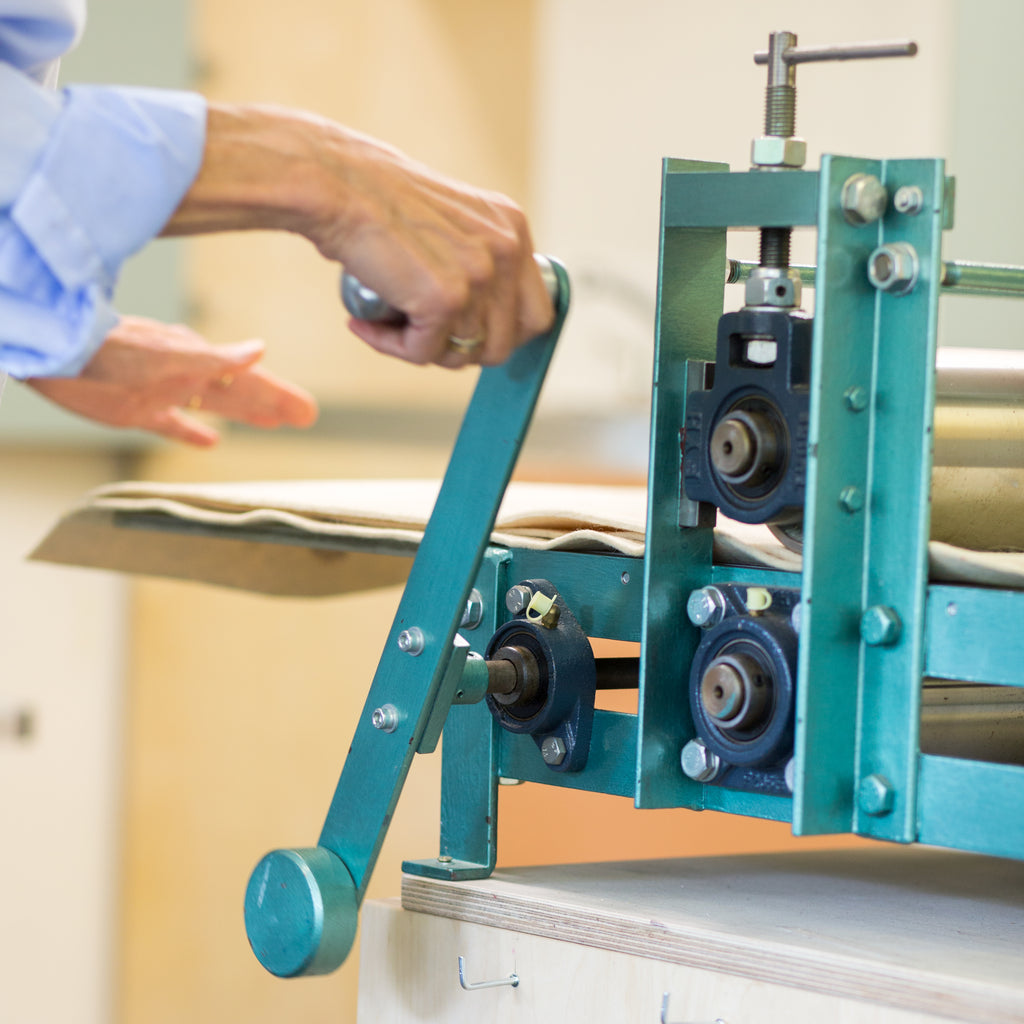
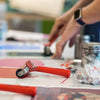
INKING UP AND PRINTING
Use a water based ink to ink up the plate, lay out your print carefully (registration), put through the press, then finally the most exciting part: Peel And Reveal!


![Life Drawing [Tuesdays]](http://hutonthegreen.com/cdn/shop/files/ld260625-28_medium.jpg?v=1751314848)